
Setting Up a Home Photography Studio
The Perfect Home Photography Studio, its Easier Than You Think to Get Started
Setting up a home photography studio is a pipe dream for many, but in reality it doesn’t cost the earth to get going and you don’t need a warehouse apartment to fit it all in! The equipment needed is a lot more readily available these days and depending on the style of photography you want to do, all you really need initially is a free wall. Today I thought I would guide you through what you would need and how best to go about setting up your first home photography studio.
Why You Should Create a Home Studio
The ongoing pandemic has forced us all to re-look at our lives. Our relationships, living situations and work have all now come into focus. That student style flat you share with three of your best friends was amazing, until you all had to work from home, and now your lounge is semi-temporary co-working space! Your 9-5 job was secure before, but now you may be thinking a ‘side hustle‘ financial backup could be a wise move. If you’re super creative that may mean selling your watercolours online, creating hand-crafted jewellery or if you’re not so creative, selling vintage clothes on eBay for example. What ever your hustle is, if its something physical that needs to be sold or if you want to be a professional photographer on the side, you’ll need to set up a home photography studio to shoot it. At present, it’s simply the most cost effective and easiest way to get going. Plus, having a studio of your own frees up your imagination from standard rented studio settings and lets you truly stand out from the competition.
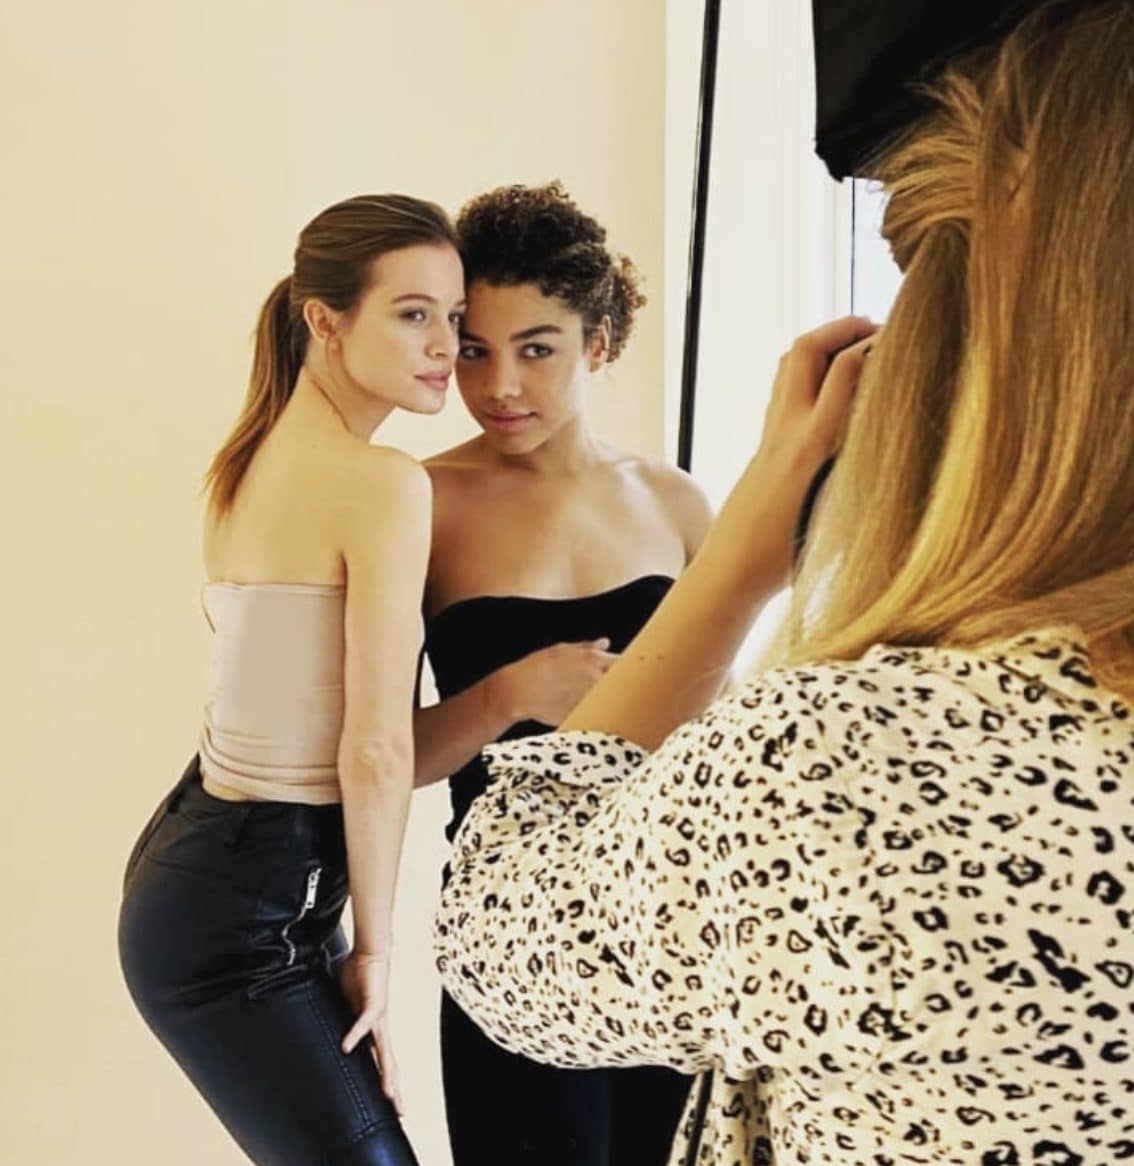
This beauty photoshoot was shot in my home studio. I used both natural light and 1x studio light head with soft-box to achieve this front on overhead lighting:

What Type of Studio do you need?
The first step of setting up a home photography studio is deciding what type you need. Think about how you intend to do your photo shoots. Do you want to stay in a single place? Or do you see yourself shooting in different locations a lot? Are you shooting a small product like jewellery or are you photographing something bigger like furniture or people for example? Do you have the room to set up your home photography studio on a fixed basis? All of these questions are important to answer before you start investing, as you’ll come a bit unstuck if you’ve set up an amazing home studio but now have nowhere to sleep… If you’re not doing photo shoots on a regular basis, you can get away with a clean wall and window light. That’s all you really need for simple portraits. But if you’re shooting product photography several times a week or you’re serious about portraits, then a dedicated home photography studio would be the most ideal.
It would be best to invest in equipment that is compact and easy to store away. That way, you have the option to have a permanent studio yet still have the ability to move around equipment to different locations. Remember that it would take years to acquire expensive equipment you see in professional studios. So for now, don’t be afraid to start small with the essentials.
How Much Space Will You Need for a Home Studio?
As I said, you don’t need a Manhattan style loft apartment to get started. If you’re shooting studio portraits, you can convert a spare room or shed into a home photography studio – even a large living room with a clear wall with some space will do. Working in smaller spaces can be quite challenging. It demands a good deal of flexibility, the ability to make compromises, and a lot of creativity – that’s the fun part!
The plus side of a small space is that you are not going to need a lot of equipment for your home photography studio. Place your background stand against one of the walls, set up the lights in front, and that’s it! One thing you need to consider for your studio is the number of people you can fit in it. If you’re planning to photograph family portraits or a local choir… they might get a bit cramped in your box room! For single-person portraits and headshots however, a few square metres are enough. Portraits of newborns and toddlers are possible almost anywhere – they’re tiny!
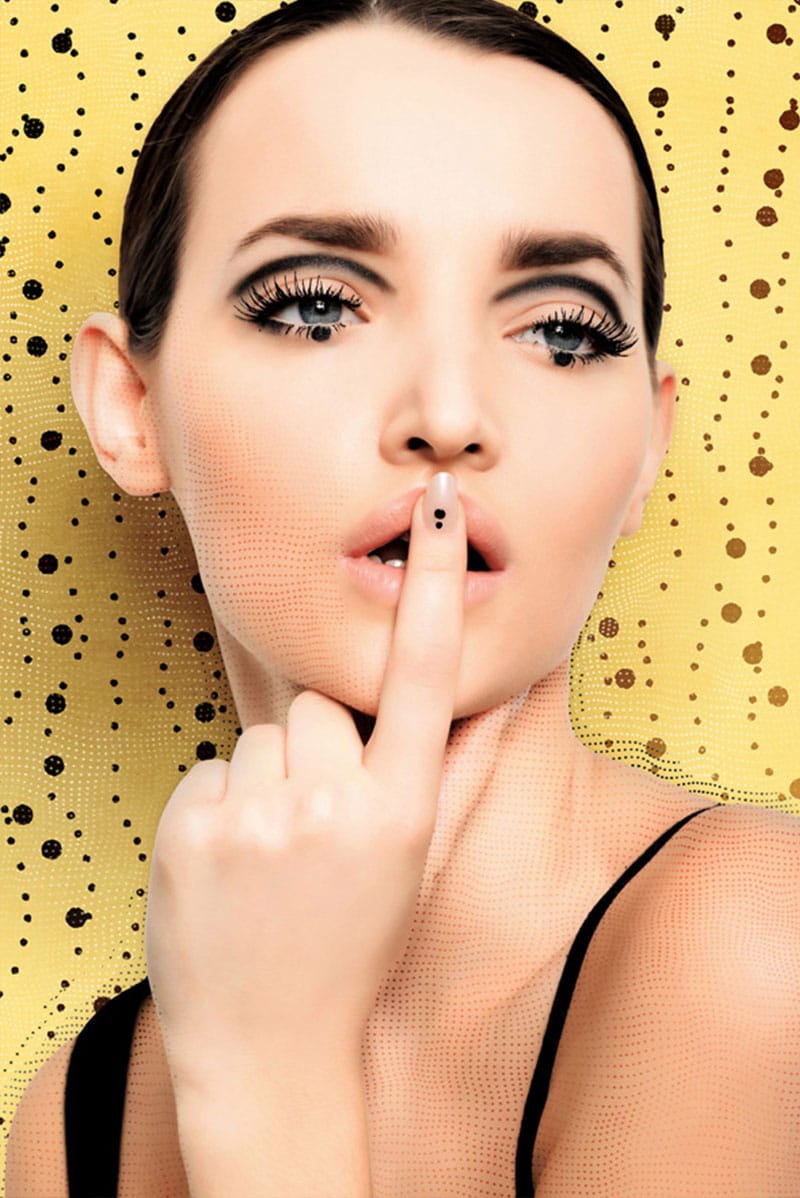
I shot against a tiny 2 meter black painted wall for this beauty shoot below! :
What Kind of Lighting Will You Need?
What you should be aware of when setting up your home photography studio is that a small space may affect the light in your photos. It’s easier to control artificial light in large photography studios. In very small places with low ceilings, stray light can be more of an issue. So if your studio space is small, it would be best to stick to window lighting. It never fails to create pleasing light, no matter the size of your studio. You may not be able to control this, but having windows that face north and south offers you the best natural sunlight throughout the day. Being a fashion photographer in London however, I am well aware that consistent daylight is unreliable at best, so on cloudy days you may be forced to use artificial lighting. Here’s your choices.
LED Lamps
While soft, natural light is great for outdoor fashion photography, your home studio photography cannot be done without a consistent source of artificial light. To control artificial light, you need the right kind of lighting equipment. You can achieve constant and continuous light with modern LED lamps. Combine these with colour filters and DIY lighting strips to produce an impressive range of colours. This set-up is perfect for tabletop photography such as photographing food
Speedlights (on-camera flash)
For flash photography, you need speedlights, an on-camera flash. These lights create brief, bright flashes & serve to block out the sun and create intense deep shadows. If you’re just starting out you can get decent Speedlight kits fairly cheaply, and they come complete with wireless trigger, studio soft box, translucent white umbrella and a flash.
Strobe Lights
The difference between speedlights and strobe lights comes down to the amount of light each can supply. Speedlights are lightweight, portable items that can be used outdoors and are linked to your camera settings. Strobe lights on the other hand, tend to be pretty expensive and can be a bit more heavy duty, space wise. You can read more about strobe lighting in photography here.
Modifiers
A light modifier is a piece of equipment that controls the direction and spread of light before it reaches your subject. A full-on beam of light is quite unflatteringly on skin texture details and tone. It also produces hard shadows that add jarring contrast to your images. That is why you need something to diffuse bright lights.
Modifiers for photography come in four varieties:
Umbrellas: Translucent photography umbrellas provide soft white light, perfect for evenly lit images. Reflective umbrellas have shiny, light-facing surfaces that produce a more consistent reflection. These are great for portraits. You can also find intermediate options for experimentation, meaning you don’t have to splash out on the whole set.
Softboxes: When you want to highlight your model without lighting up the backdrop, softboxes are the best option. These are rectangular or octagonal shaped umbrellas with a diffusion cover that spreads soft light over a smaller area than an umbrella.
Scrims: Umbrellas and softboxes have limited movement, focus and portability. Scrims are flat pass-through screens that can provide a more precise focus for soft light. A professional photographer in London will certainly use these for high-quality work.
Beauty Dish: Portrait photographers sometimes use a Beauty Dish to get a soft contrast on faces by evening out shadows and lit areas. These are small circular diffusers that train light over the model’s face.
Setting up the Perfect Backdrop for your Home Photography Studio
Now, you’ve shoved all your partners stuff into one corner of the room. You’ve lit your dedicated space beautifully and you’ve picked up the camera (I haven’t mentioned cameras but if you haven’t got one yet, check out my top tips here on getting your first professional camera), but what about the backdrop! A photography backdrop can make or break your shot. You want it to match your style while also not be so overpowering that is distracts from what you’re shooting. Photography backdrops not only bring a certain elegance to your images, but they also help control the reflection of light and exposure. You can set the ambiance for your photography by merely bringing in a background with the right colour. To ensure that you get the right texture, lighting and colour temperature, you need artificial screens to serve as backdrops.
Photography backdrops are usually made of paper, fabric, or vinyl. Seamless paper does the job of a coloured wall very well and is also the cheapest option. You can easily change or (carefully!) roll up seamless paper backgrounds from collapsible stands or wall mounts. Don’t forget to buy clamps and clips to keep these screens in place. Vinyl is another easy-to-use backdrop material as it’s easy to clean and keep crease-free. They are available in a huge variety of colours, textures, prints, arty (not so tasteful) backgrounds etc – so it’s easy to add a little extra something to your shoot.
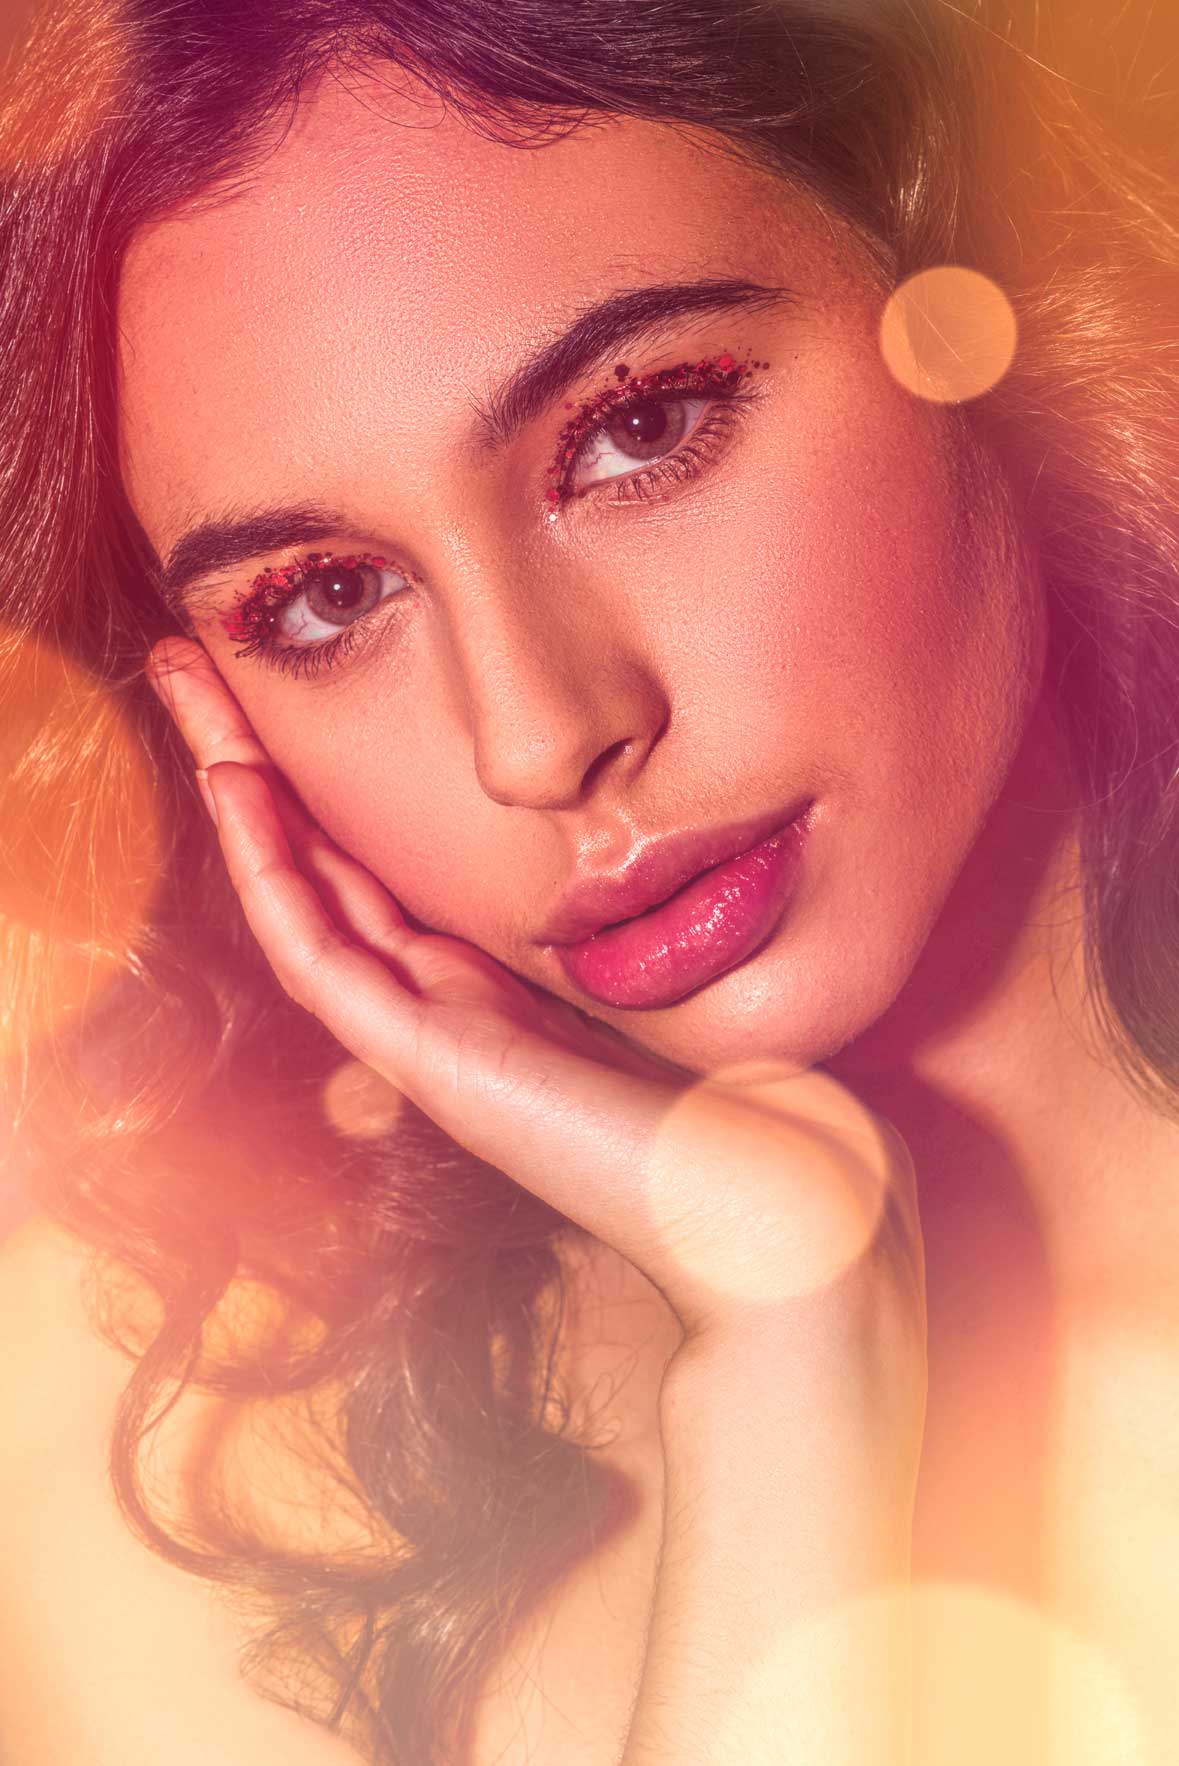
Be creative! Here I used a wicker chair here and placed it next to a window to capture the shadow on the models face when shooting this beauty shoot below:

How Much Should You Spend?
The amount you spend on setting up your home photography studio comes down to you. You need to think about what you can afford initially and what is your main aim going forward. Do you want your studio to be used as a hobby or are you serious about making this a professional venture going forward, be it part-time or not. Make a list of everything you need to get started, if you’re starting from scratch then your shopping list may well outway your savings. If so, don’t go all in straight away, work your way up. This may mean you purchase one of the items on your list each month until you’ve got enough to get started or simply choosing cheaper options to begin with until you’ve got some extra income coming in and you can upgrade.
If you are pursuing photography as a hobby, then it would be best to keep your studio investment to a minimum.
How Do I Get My Work Recognised?
Having an amazing home studio with the ability to take stunning photography won’t mean much if nobody sees the end result… In most freelance work, the job of marketing yourself is down to, yourself! As a commercial photographer, over half of my time is spent getting that next job. Be it contacting bookers, publishing my work on social media or writing really interesting and informative blog posts! We live in a digital age and it has never been easier or cheaper to self-promote. The disadvantage, is that your competition is high! The way you get your work recognised really comes down your type of business. If you have set up a home photography studio in order to shoot your handmade pottery to sell globally on Etsy for example, make sure your photography is amazing and that your product sits within a niche. Maybe thats a rare glaze, one-off designs or a particular price point. Having a niche will help you compete when your business is not local. If you have set up the studio in order to shoot still lifes for local businesses, models or babies then use your locality to your advantage with localised SEO on your website. This is too big a subject to get into now, but theres’s a good article to look through here. Whatever your business, put up your work on social platforms such as Instagram and Facebook. Offer a short but captivating description. Ensure that you add tags for the type of photography or business you specialise in. To begin with, ask your friends, acquaintances and clients to like your posts. Over a period of time, you will be able to obtain recognition, once people have discovered your work. If you’re looking to get into freelance photography, then I recently posted this which will certainly help you start your career.
Final Words from Me
Setting up a home photography studio will help your business thrive in the long-term, cut studio costs and give you complete control of your business. However, you should not expect your studio to automatically increase the amount of work you get. Your work needs marketing and time in order to flourish. Don’t panic in the first few months if you’re not getting business and start throwing money at your home studio or equipment, in the hope that it will help. Be patient, be realistic and stick to your plan.
